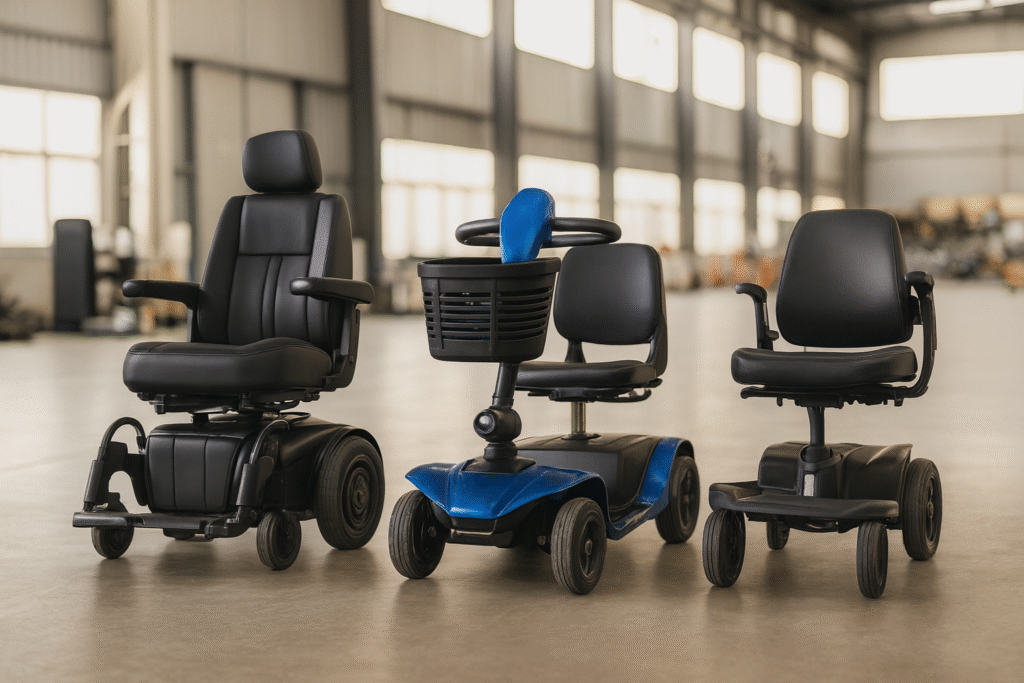
Electric Wheelchair Assembly Guide: What to Expect Out of the Box
Last updated: November 2026
When your electric wheelchair arrives, the unboxing experience can feel overwhelming — there are wires, brackets, and components that need to fit together correctly. This guide walks through exactly what comes in the box, step-by-step assembly, and the common mistakes that cause problems later.
What’s in the Box: Standard Contents
| Component | Qty | Wrapped? | Weight |
|---|---|---|---|
| Main frame (with motors) | 1 | Foam + plastic | 30-50 lbs |
| Seat assembly | 1 | Cardboard | 8-12 lbs |
| Battery (or 2) | 1-2 | Foam + warning labels | 12-35 lbs |
| Joystick controller | 1 | Bubble wrap | 1-2 lbs |
| Armrests (L+R) | 2 | Foam | 3-5 lbs each |
| Footrests / footplate | 1-2 | Cardboard | 2-4 lbs |
| Charger | 1 | Box | 1-2 lbs |
| Allen key set | 1 | Plastic bag | 0.5 lbs |
| User manual | 1 | Plastic bag | — |
| Anti-tip wheels | 2 | Foam | 1 lb pair |
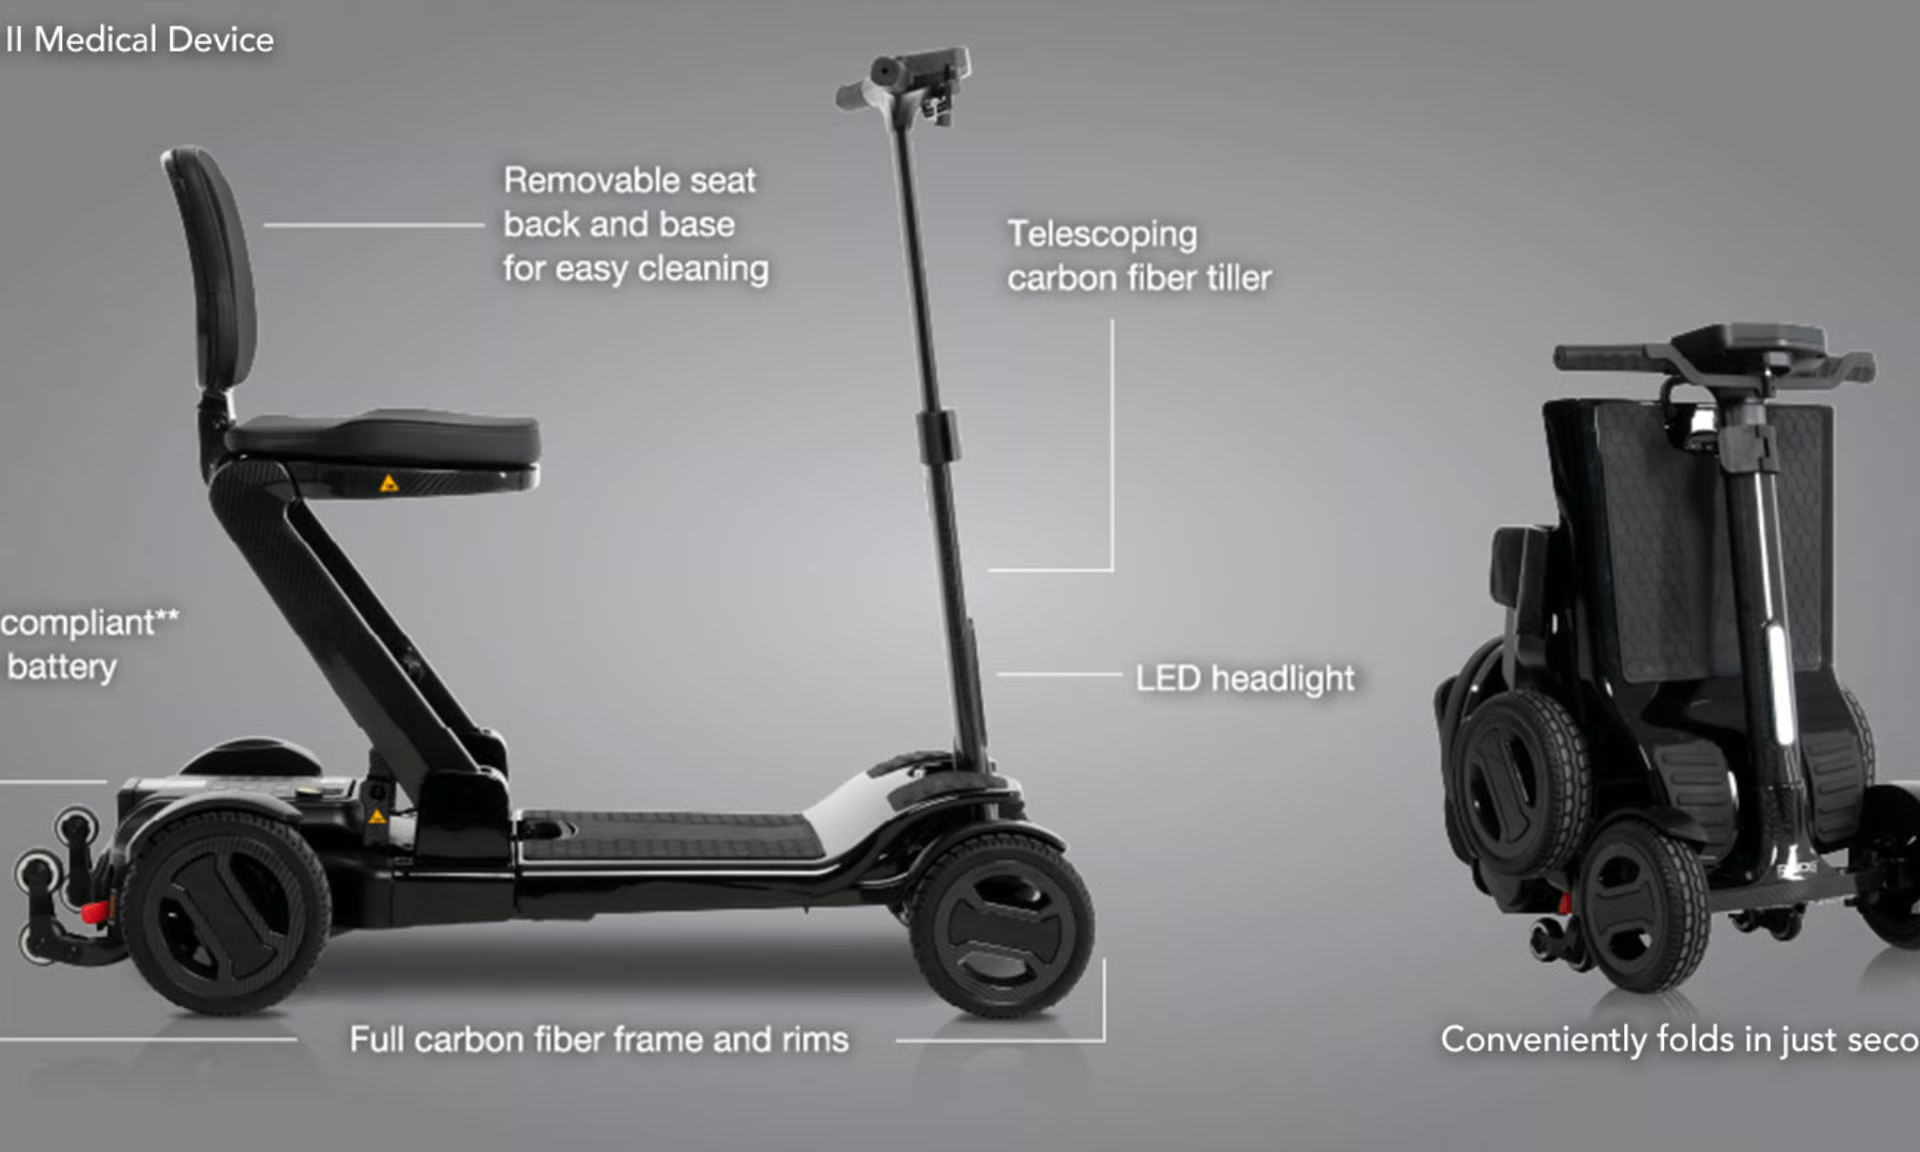
Note: Carbon fiber models (like our Magna Carbon) arrive more compact because the frame folds, but contents are the same.
Step 1: Unboxing Safely
- Clear a 6×6 ft space — you need room to lay out components
- Cut the box carefully — don’t cut deeper than 1 inch to avoid damaging contents
- Remove the main frame first — it’s the heaviest; use a dolly or get help
- Check the parts list against the manual before starting assembly
- Inspect for shipping damage: bent frame, cracked plastic, scratched paint
- Take photos of any damage immediately for warranty claims
Red flags to check before assembly:
- Battery box cracked or swollen → do not use, contact manufacturer immediately
- Motor wires pinched or cut → contact manufacturer
- Frame welds cracked → contact manufacturer
- Joystick cable cut or crushed → contact manufacturer
Step 2: Install the Seat
Most electric wheelchairs use one of two seat attachment methods:
Pin-and-clip system (most common):
- Align the seat post with the frame socket
- Push down firmly until you hear a click
- Insert the safety pin through the hole
- Test by pulling up on the seat — it should not lift out
Bolt-down system (heavy-duty models):
- Place the seat base over the frame mounting holes
- Insert 4 bolts through the seat base into the frame
- Tighten with the included Allen key in a cross pattern (like changing a tire)
- Check tightness after 1 hour of use — bolts may settle
| Seat Type | Installation Time | Tools Needed | Difficulty |
|---|---|---|---|
| Pin-and-clip | 2 min | None | Easy |
| Bolt-down | 8 min | Allen key | Moderate |
| Power tilt | 15 min | Allen key + wire | Professional recommended |
Step 3: Connect the Battery
This is the most critical step — and the one where most mistakes happen.
For Lithium Batteries (slide-in type):
- Locate the battery slot on the frame (usually under the seat)
- Align the battery’s guide rails with the slot
- Slide in until the locking lever clicks
- The battery indicator should light up
For Lead-Acid Batteries (terminal type):
- Place the battery in the battery tray
- Connect the RED wire to the RED (+) terminal
- Connect the BLACK wire to the BLACK (-) terminal
- Tighten the wing nuts by hand — do not over-tighten
- Tuck excess wire into the tray, away from moving parts
| Battery Type | Connection | Safety Step | First Charge |
|---|---|---|---|
| Lithium (slide-in) | Slide + click | Listen for lock | 2-3 hours |
| Lithium (terminal) | Plug connector | Check polarity | 2-3 hours |
| Lead-acid | Terminals + wing nuts | Red to red, black to black | 8-12 hours |
| Dual lithium | Both batteries | Connect in parallel only | 3-4 hours |
Critical safety rules:
- Never force a connector — if it doesn’t fit, flip it around
- Never connect red to black — this will destroy the controller
- Always connect the battery before turning on the joystick
- If you see sparks, disconnect immediately
Step 4: Install the Joystick Controller
The joystick is your steering wheel, accelerator, and brake. It must be installed on the correct side and connected properly.
- Choose the mounting side: Most users mount on the right, but left-handed users can mount on the left. The joystick arm should be on your dominant hand’s side.
- Attach the mounting bracket: Slide the bracket onto the armrest tube and tighten the clamp bolt with the Allen key.
- Connect the cable: Find the 9-pin or 15-pin connector at the end of the joystick cable. Match it to the port on the controller box (usually under the seat). It only fits one way — don’t force it.
- Route the cable: Tuck the cable along the frame using the provided cable ties. Ensure it doesn’t hang below the frame (where it could catch on door thresholds).
First power-on sequence:
- Ensure the joystick is in neutral (centered)
- Ensure the power button is off
- Turn on the battery disconnect switch (if equipped)
- Press and hold the power button for 2 seconds
- The joystick display should show battery level and speed setting
- If the display flashes an error code, consult the manual
Step 5: Install Footrests and Anti-Tip Wheels
Footrests:
- Slide the footrest tube into the front frame bracket
- Push down until the spring pin engages
- Adjust height so your feet rest comfortably with knees at 90 degrees
- Tighten the height adjustment knob
Anti-tip wheels (critical safety device):
- Locate the anti-tip mounting points at the rear of the frame
- Insert the anti-tip arms with wheels pointing down
- Secure with the provided pins
- Verify they touch the ground when the chair tilts back 15 degrees
- Never remove the anti-tip wheels — they prevent dangerous backward falls
Step 6: Final Adjustments
| Adjustment | How to Check | Correct Setting |
|---|---|---|
| Seat height | Sit with feet flat on footrests | Knees at 90°, hips level |
| Armrest height | Rest forearms on armrests | Elbows at 100-110° |
| Footrest height | Check clearance over thresholds | Minimum 2″ from ground |
| Joystick position | Reach without leaning | Armrest length adjusted |
| Backrest angle | Sit for 5 minutes | Upright or 5° recline |
| Brake engagement | Test on flat ground | Stops within 3 feet |
First Charge and First Ride
Battery first charge:
- Lithium: Charge 2-3 hours until the charger light turns green
- Lead-acid: Charge 8-12 hours (overnight) — this conditions the battery
- Do not use the wheelchair during the first charge
First ride checklist:
- ✅ Battery fully charged
- ✅ Joystick responds correctly (test each direction)
- ✅ Anti-tip wheels installed
- ✅ Brakes stop the chair within 3 feet
- ✅ Seat height adjusted
- ✅ Armrests secure
- ✅ No unusual noises when moving
Start in a large open area (driveway or parking lot). Practice:
- Starting and stopping
- Turning left and right
- Reversing
- Navigating a gentle ramp
- Stopping on a slope
Common Assembly Mistakes
| Mistake | Consequence | Fix |
|---|---|---|
| Forcing joystick connector | Bent pins, controller failure | Check orientation, flip 180° |
| Overtightening battery terminals | Stripped threads, poor contact | Hand-tighten only |
| Removing anti-tip wheels | Backward fall risk | Reinstall immediately |
| Not charging before first use | Reduced battery lifespan | Always fully charge first |
| Installing footrests backwards | Foot discomfort, poor posture | Check which side has the release lever |
| Routing cable under frame | Cable catches on thresholds | Route along side, use cable ties |
FAQ
Do I need any tools not included in the box?
In most cases, no. The included Allen key set handles 95% of assembly. For bolt-down seats on heavy-duty models, you may need a 10mm or 12mm wrench. A cable cutter is useful for trimming excess cable ties after installation.
How long does assembly take?
For an experienced person: 15 minutes. For first-timers: 30-45 minutes. For power tilt or recline systems: 60-90 minutes (professional installation recommended). Carbon fiber models are typically faster (15 minutes) because they arrive more pre-assembled.
Can I assemble it alone or do I need help?
Most standard models can be assembled alone, but the main frame (30-50 lbs) is awkward to handle solo. Having one person help lift the frame and hold components while you tighten bolts makes the process much faster and safer. For bariatric models (120+ lbs frame), two people are required.
What if the joystick doesn’t power on after assembly?
Check these in order: (1) battery connected correctly, (2) battery disconnect switch is on, (3) joystick connector fully seated, (4) battery has charge, (5) fuse not blown (check near the battery). If all are OK, contact the manufacturer — do not disassemble the controller.
Is professional assembly available?
Yes. Most medical supply stores offer assembly for $50-$150. Some manufacturers include white-glove delivery with assembly for an additional fee. For complex power tilt/recline systems, professional assembly is strongly recommended.
Can I fly with a disassembled electric wheelchair?
Yes, but the battery rules are strict. Lithium batteries over 300 Wh cannot fly. Most travel wheelchairs use 240-288 Wh batteries to stay compliant. See our flying with electric wheelchair guide for full airline rules.
Conclusion
Electric wheelchair assembly is straightforward when you follow the steps in order: unbox and inspect → install seat → connect battery → install joystick → add footrests and anti-tip wheels → charge fully → test ride. For B2B buyers sourcing wheelchairs, ensure your supplier provides clear assembly instructions and includes all necessary tools. Our OEM pricing RFQ template includes packaging and documentation requirements.
Interested in Wholesale Pricing?
Get OEM/ODM details, product specifications, and wholesale pricing within 24 hours.
Or send us a message directly:

 English
 Deutsch
 Français
 Español
 Italiano
 العربية
 Русский